Windows
Update to
the new Windows
Windows 8.1 clean install.
You can perform a clean installation of Windows 8.1 if you purchased Windows 8.1 on DVD or purchased a download of Windows 8.1. A clean installation typically means formatting your hard drive before installing Windows, so make sure that you have backed up your files and created recovery disc by MSI BurnRecovery tool before proceeding.
To perform a clean installation using a DVD or USB flash drive
If you bought Windows 8.1 on DVD or created a DVD or USB flash drive when you purchased and downloaded Windows 8.1, follow these steps to perform a clean installation.
1. Turn on your PC so that Windows starts normally, insert the Windows 8.1 DVD or USB flash drive, and then shut down your PC.
2. Restart your PC. Your laptop will boot from Windows 8.1 DVD or USB flash drive. Press any key when prompted by message “Press any key to boot from CD or DVD…”.
If you restart your PC and your current version of Windows starts, you might have to change the boot order in your PC's BIOS settings so that your PC boots from the media.
To change the boot order, you'll generally press Delete key immediately after you turn on your PC. When you get into BIOS Setup Menu, please select Boot tab and set your media as the first boot order.

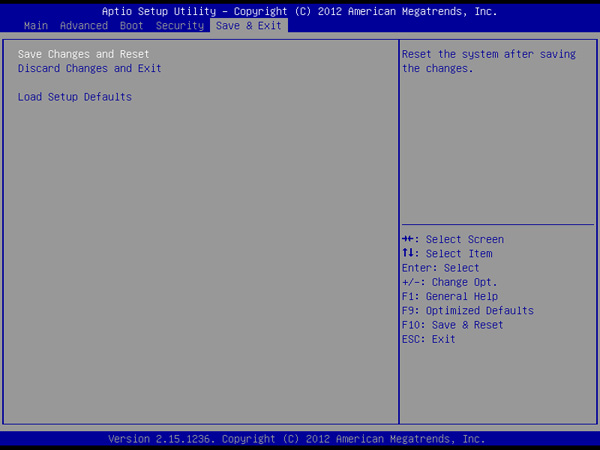
Move to Save & Exit tab, select [Save Changes and Reset] and leave BIOS Setup Menu.
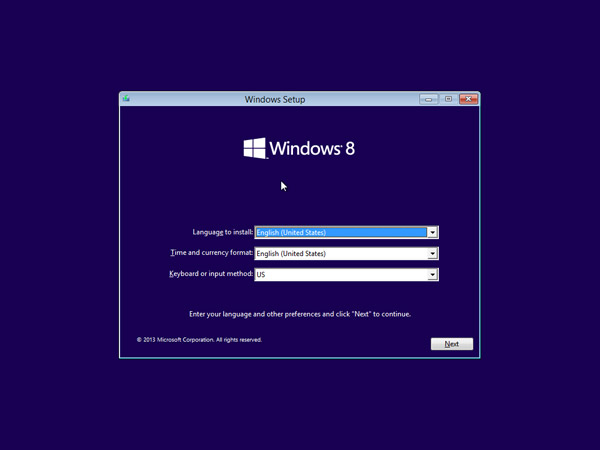
3. Please setup language along with other preferences and click [Next].
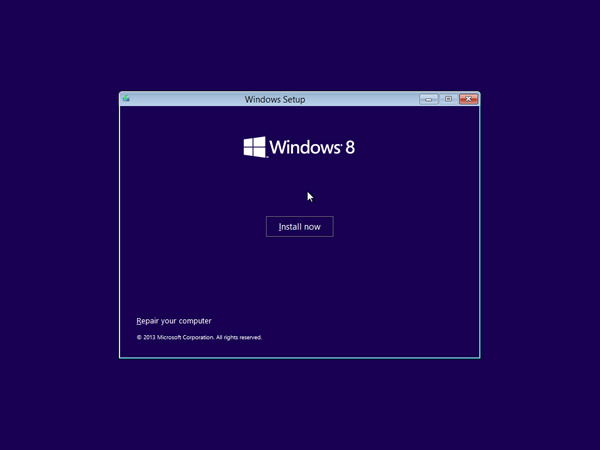
4. Click [Install now] to start the process.
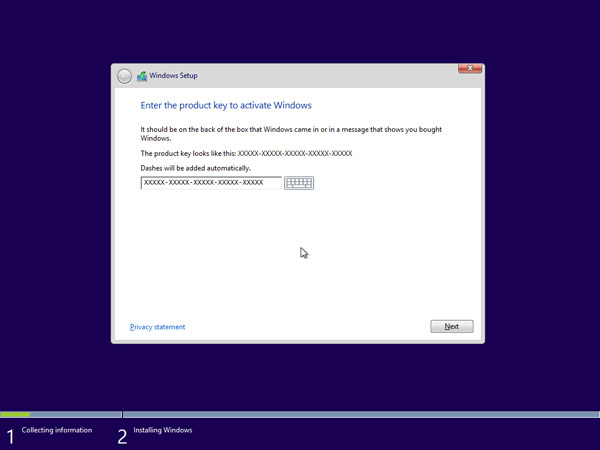
5. Enter the product key to activate Windows 8.1 and click [Next]. (You should find the key in the disc package or in a message that shows you bought Windows. If not, please contact disc provider.)
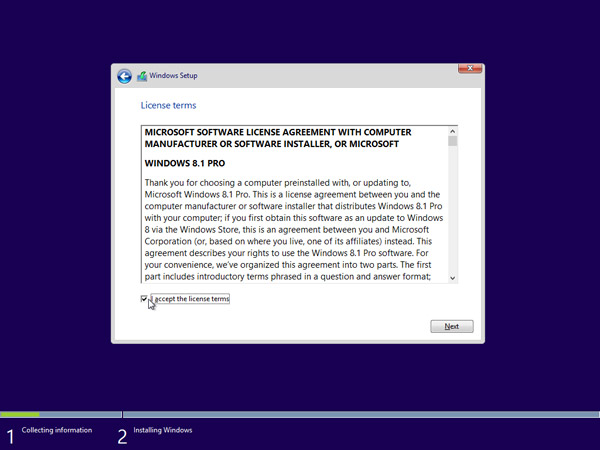
6. Accept the license terms and click [Next].
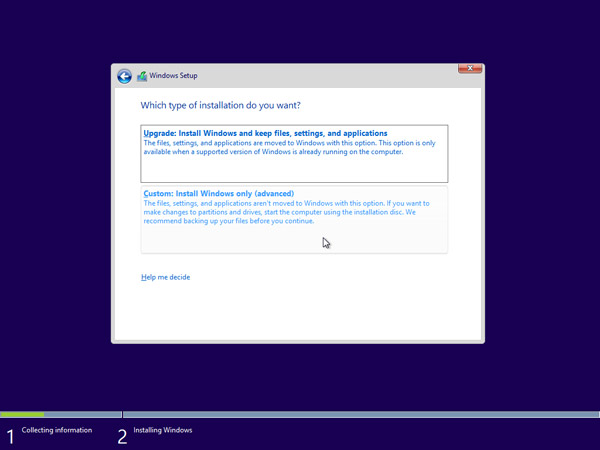
7. Choose the installation type you want. MSI recommend [Custom: Install Windows only (advanced)].
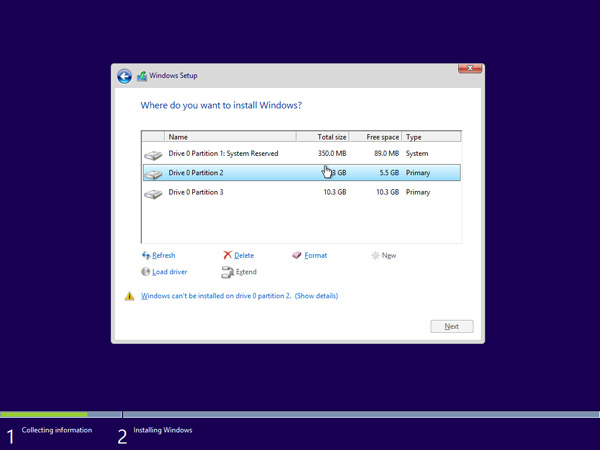
8. Delete all existing partitions by selecting one partition at a time and then click [Delete] link.
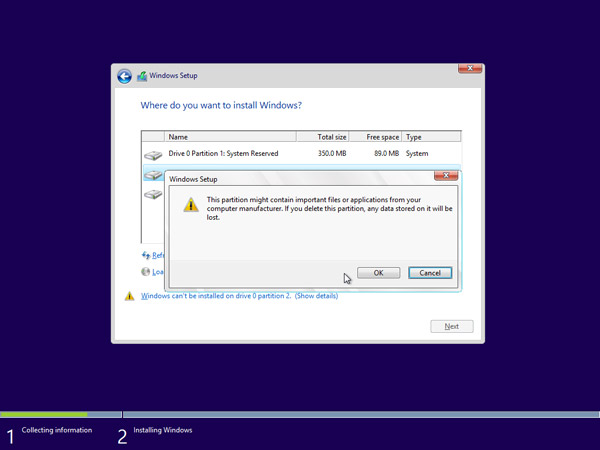
9. Press [OK] when prompted by the message.
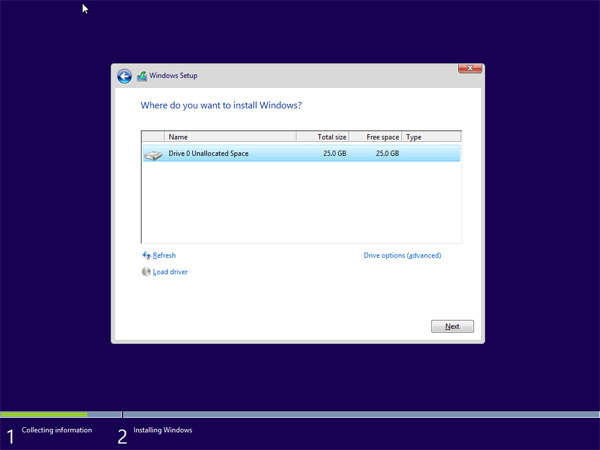
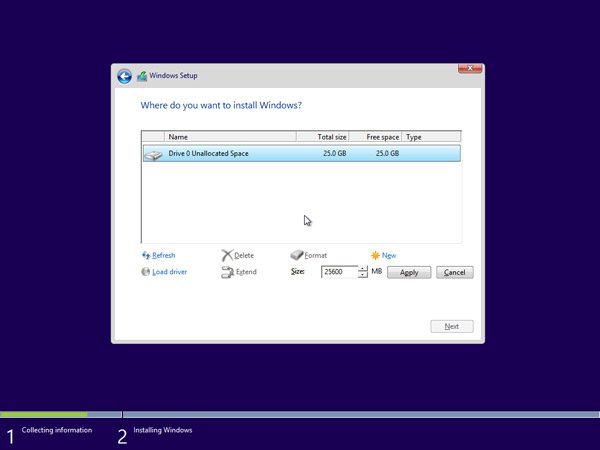
10. All the space on the hard drive is now unallocated. Please create partitions by clicking [Drive options (advanced)].
11. Click [New] and decide a proper partition size for the partition.
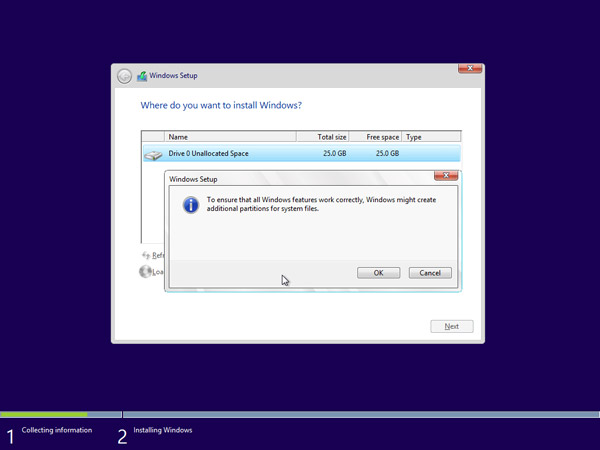
12. Windows will create another partition to store system files in. Please press [OK]. Follow step 10 to create partitions for the rest of unallocated space if required.
13. Select one partition and click [Format] link to perform partition format.
14. You will be prompted to confirm the process. Press [OK]. Format other partitions as well except the one reserved for system files.

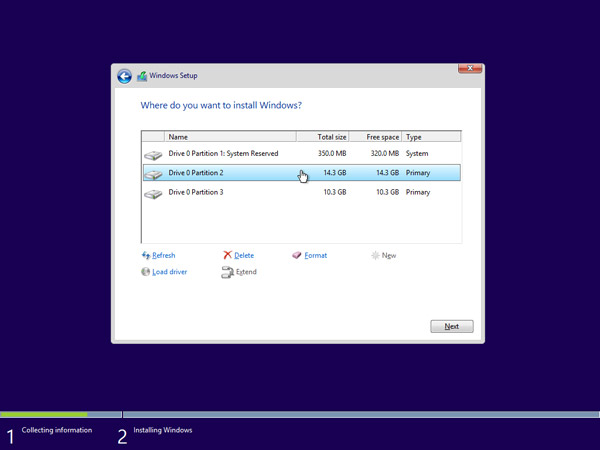
15. Select the partition where you want to install Windows to and press [Next].
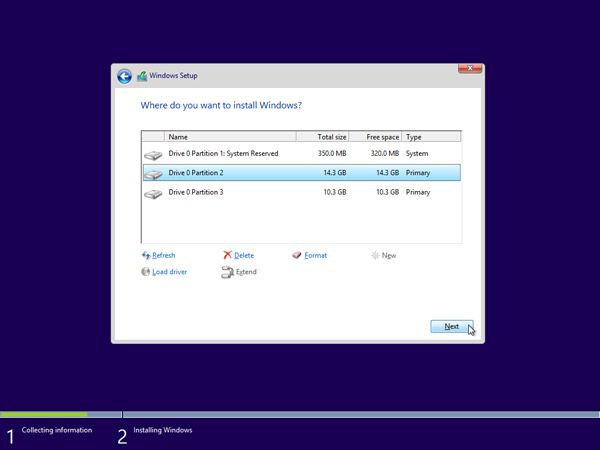
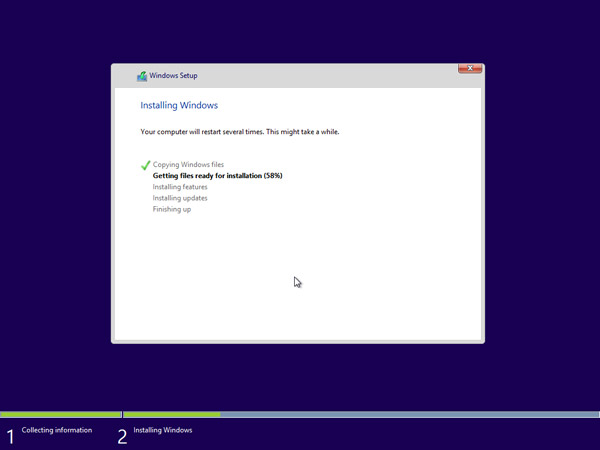
16. Windows 8.1 is being installed and it will require several reboots during the process.
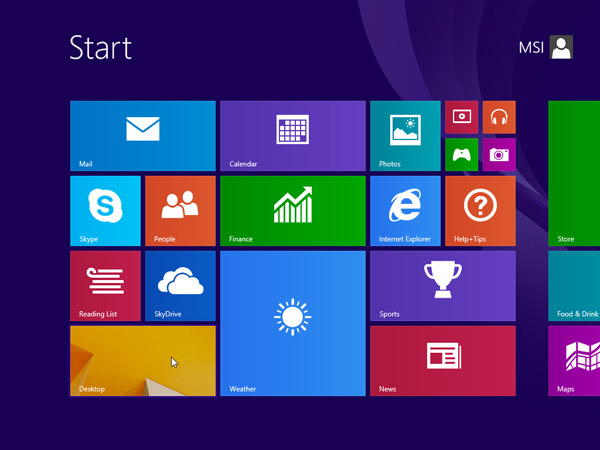
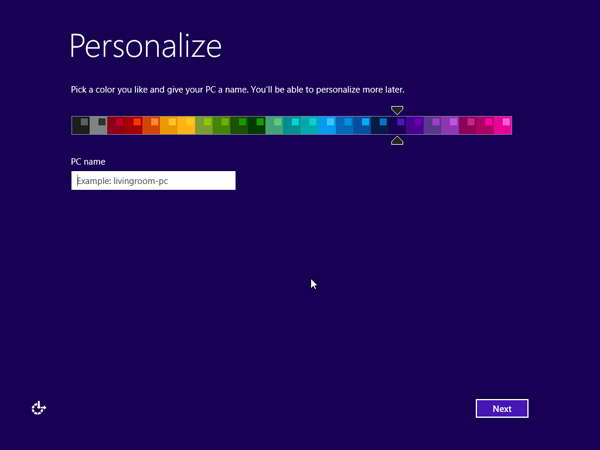
17. Please follow onscreen instructions to personalize computer settings.
18. Windows 8.1 is now installed successfully. Please perform Windows update and install the latest firmware/driver/app updates downloaded from MSI website.